 PRIME MOTION
Setting work zero
Work zero is the point on your material the program treats as X0 Y0 Z0. Setting it is how the machine learns where your workpiece is.
Everything else on this page is a way of doing that more accurately or more quickly.
By eye
Jog the tool to the point you want as zero, then zero the axes. Zero All sets X, Y and Z at once; each axis can also be zeroed on its own.
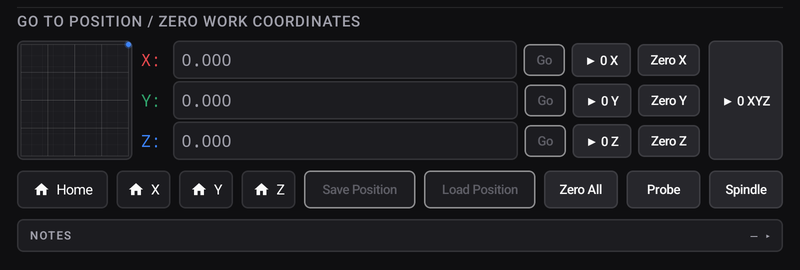
Accurate to about how well you can see, which for many jobs is plenty.
By probe
If you have a touch plate or probe, the machine can find the surface itself. Probe on the Jog screen runs the cycle, and the probing macros do the same job from the Macros tab.
Probing is more accurate and far more repeatable than eye, and it is the only practical way to find an edge precisely.
From a touched edge — X and Y without a plate
Most touch plates find Z only, and every one of those operators still needs an X and Y datum. Tap Zero X or Zero Y and the app offers two things: setting that axis to zero right where the tool is, exactly as before, or setting it from an edge you have touched.
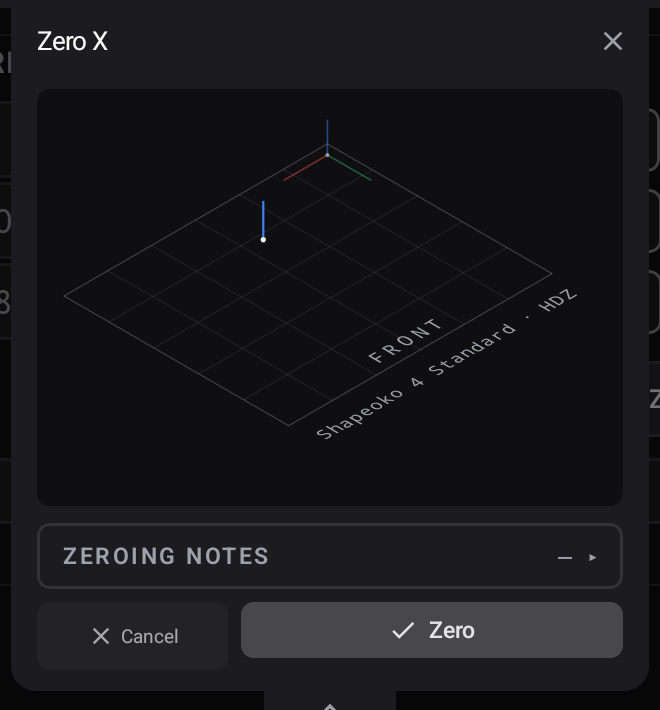
For the second, jog the tool until its side just touches the outside face of the material — by eye, by feel, or with a slip of paper — then:
- Tap the face you touched on the little plan drawing. Nothing is pre-selected, on purpose.
- Enter the diameter of what is fitted.
- Read the line that says what the position will be called, and commit.
The app subtracts the radius for you, in the right direction.
By recalling a saved position
If your work is held in a fixture that puts every piece in the same place, you do not need to find zero again — save the position once and load it next time.
After a tool change
A different tool is a different length, so Z zero is no longer correct even though X and Y are fine.
| Your machine | What to do |
|---|---|
| Has a toolsetter | Nothing — it measures and compensates automatically |
| Has none | Re-set Z with the new tool before continuing |